How to Create Your Business Cards Without Spending a Penny
When you’re just starting a business, every little detail counts. You want people to see you as legit—someone they can trust with their time or money. That means having a solid online presence, an easy way for folks to reach you, and, yeah, even a business card. I know what you’re thinking: “I don’t have cash to throw around on stuff like that yet.” Well, here’s the good news—you don’t need to.
I’m going to walk you through how to print my own business cards free with a modern, professional look, all from the comfort of your home (or wherever you can borrow a printer). No fancy budget or design skills are required—just a little time and effort. Ready? Let’s get into it.
Why You Still Need Business Cards Today
In a world of emails and social media, you might wonder if business cards are even a thing anymore. Trust me, they are. There’s something about handing someone a card that feels personal and prepared. It’s a quick way to share your info without fumbling with phones or hoping they’ll remember your Instagram handle. Plus, a sharp-looking card can make people think, “Wow, this person’s got it together.” And the best part? You can make them yourself without spending a dime.
What’s So Great About DIY Business Cards?
Before we jump into the steps, let’s talk about why making your cards is worth it:
- Saves Money: No need to shell out for a designer or printing company.
- You’re in Charge: You get to decide exactly what goes on that card.
- Fast Results: You can have them ready in a day, not a week.
- Easy Updates: Change your phone number? No problem—just tweak and reprint.
Now, let’s get to the fun part: how to make this happen.
Your Step-by-Step Guide to Designing Business Cards
Step 1: Find a Free Design Tool
You don’t need expensive software to whip up a great card. There are tons of free websites out there that make it simple. Here are a few I like:
- Canva: This is Super easy, and there are lots of templates you can play with.
- GIMP: More hands-on, kind of like Photoshop but free.
- VistaCreate: This is another straightforward option with cool designs.
If you’re new to this, Canva’s your best bet. Sign up (it’s free), and you’re good to go.
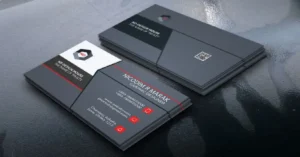
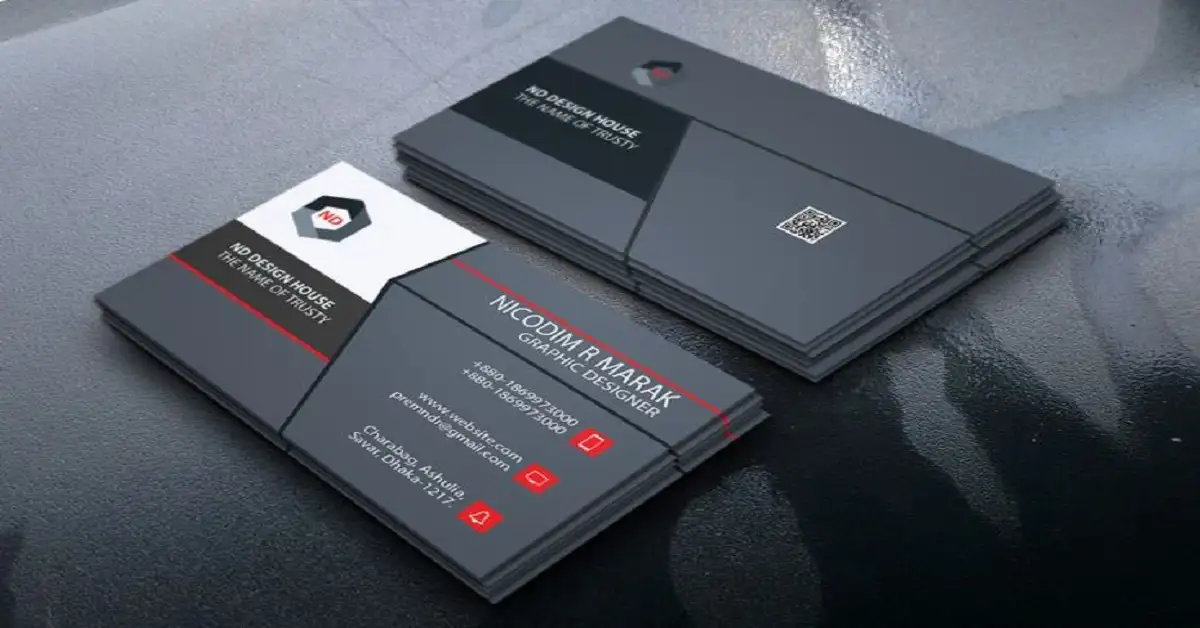
Step 2: Pick a Template That Looks Sharp
These tools usually have ready-made designs you can start with. Look for something clean and modern—nothing too busy or wild. Here’s what you’ll want to put on it:
- Your name
- What you do (like “Freelance Writer” or your business name)
- Phone number
- Maybe a website or social link if you’ve got one
- A logo, if you have one handy
Keep it simple. Pick colors that feel like “you”—maybe black and white or a soft gray. It’ll look polished without much effort.
Step 3: Make It Yours
Now, tweak that template:
- Fill in Your Details: Type in your info. Stick to a font that’s easy to read, like Arial.
- Add a Little Flair: Got a logo? Pop it in. No logo? Maybe a tiny icon that fits your vibe.
- Adjust Things: Move stuff around so it doesn’t feel cramped.
Mess with it until you’re happy. It’s your card—make it feel right.
Step 4: Save It for Printing
When you’re done, download your design. Most sites let you save it as a PDF or picture file. Go with PDF—it prints nicer.
How to Print Your Cards Without Paying a Cent
Okay, you’ve got a killer design. Now, how do you turn it into actual cards? Here are a few ways:
Option 1: Use Your Printer
If you’ve got a printer at home, you’re golden. Here’s the plan:
- Grab Some Paper: Thicker paper, like cardstock, works best. If you’ve got some lying around, use it.
- Set It Up: Open your PDF and tell the printer to fit a bunch of cards on one page. The standard size is 3.5 x 2 inches—most tools have that option built in.
- Test It First: Print one page to see how it looks. Colors off? Lines crooked? Fix it before you print more.
- Cut Them Up: Grab scissors or a paper cutter and trim them neatly.
Option 2: Borrow Someone Else’s Printer
No printer? Ask around. A friend might let you use theirs, or check your local library—some let you print small stuff for free. Bring your file on a USB and follow the same steps.
Option 3: Sneak It at Work
If your job has a printer, and it’s cool to use it for personal stuff, that’s another freebie. Just double-check with whoever’s in charge so you don’t get in hot water.
How to Keep Your Cards Looking Classy
A good card doesn’t need to scream for attention. Here’s how to make yours stand out the right way:
- Keep It Simple: Too many colors or fonts can look messy. Stick to a clean style.
- Try a QR Code: Link it to your website or profile—it’s a cool, modern touch.
- Proofread Everything: A typo can ruin the vibe. Read it twice.
- Test the Size: Print one and hold it—make sure the text isn’t tiny.
Little things like this make a big difference.
Fixing Problems That Pop Up
Sometimes, things go sideways. Here’s how to handle it:
- Print Looks Fuzzy: Your file might be low-quality. Aim for 300 DPI when you save it.
- Cards Don’t Line Up: Play with the printer settings or tweak your design’s layout.
- Out of Ink: Switch to black and white if colors aren’t working.
Don’t sweat it—just keep testing until it’s right.
Fun Ways to Jazz Up Your Cards
Want to add some personality? Try these:
- Textured Paper: If you’ve got some, it feels fancy.
- Flip the Layout: Make it vertical instead of horizontal for a twist.
- Write a Note: Scribble something on the back by hand after printing.
Small touches can make your cards memorable.
FAQs About DIY Business Cards
Q: Can I make cards that look good for free?
A: Yep! With the right tools and a printer, you’re set.
Q: What if I don’t own a printer?
A: Borrow one from a friend, hit up a library, or see if work’s an option.
Q: How long does designing take?
A: Maybe 30 minutes to an hour once you get the hang of it.
Q: What kind of paper works best?
A: Something thick like cardstock. Thin printer paper can feel cheap.
Q: Can I change my design later?
A: Totally. Save it online and edit it whenever you want.
Conclusion
You don’t need deep pockets to look professional. With a little time and the steps I’ve laid out, you can have a stack of slick business cards ready to hand out. Whether you’re chatting with a potential client or meeting someone at a coffee shop, that card says you mean business.
So, fire up your computer, pick a tool, and start designing. In a couple of hours, you’ll be holding something you’re proud to share. Why wait? Your next big break might be waiting for that perfect card.